| step 13 - shoulder board loops that no one ever used
|
on the "misc" pattern page you'll see a couple rectangles. using the cotton liner fabric, pin and cut out two of these things. then take each one and fold the edges in on itself so that all the raw edges are on the inside and it ends up being a little under 1cm wide. pin it like so. see photo. 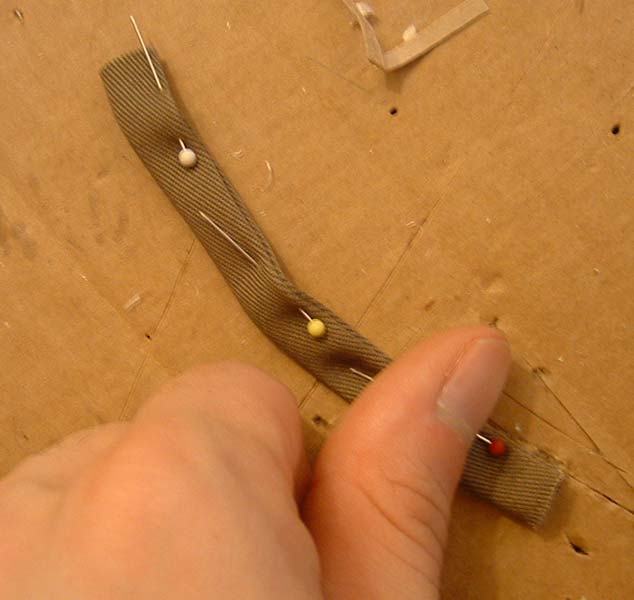 |
sew it shut very close to the edge. then, pin it on the inside of a flap, so that the front end of it is right about next to where the bill of the hat enters the hat itself. also, keep the side of the loop thing with the stitch on it facing the up-side of the hat. see pic.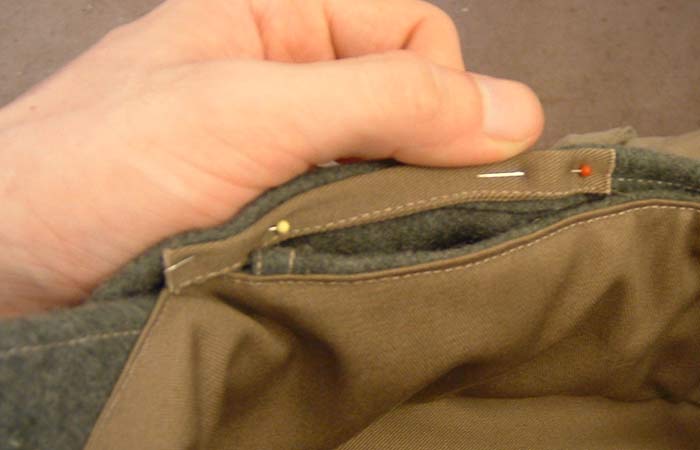 |
| sew it to the hat flap here, two vertical stitches, one on each end of it, about 7cm apart, and each stitch should extend a little upward past the loop thing, and the whole stitch should reverse back over itself for a total of like 3-4 overlapping stitches all the way (using the reverser lever on the machine) see photo. then, just cut off the excess ends of the loop thing, very close to the stitches. repeat this for the other side of the hat, of course. 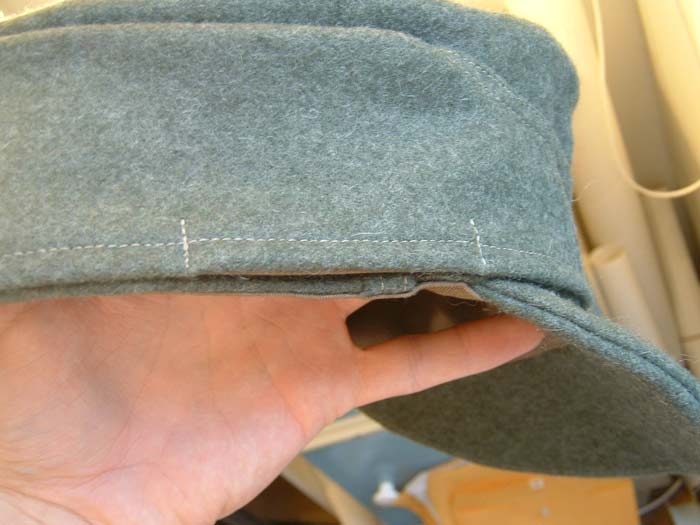 |
| one last potentially improper thing in my design is the absence of ventilation hole rivets. i left that out because you need extra tools and hardware to do that stuff. not all hats seem to have had this, though, so i think it can be overlooked. |
<< previous next >>