| step 4 - sewing flaps
|
next, on the wool flaps and the wool sides which you just sewed together, you want to take the little 1cm flaps next to the stitch, fold them flat against the fabric, and stitch them again. this is called a topstitch, and you want to do it between 1 and 2 mm away from the original stitch you sewed to attach the two pieces of fabric together. this may be a bit confusing to someone who has never sewn before, and i hope the photograph explains it.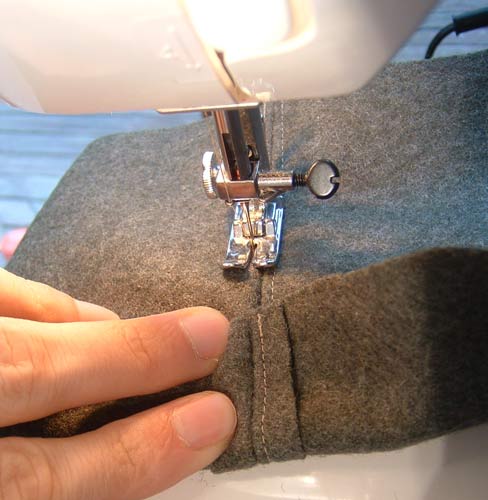
|
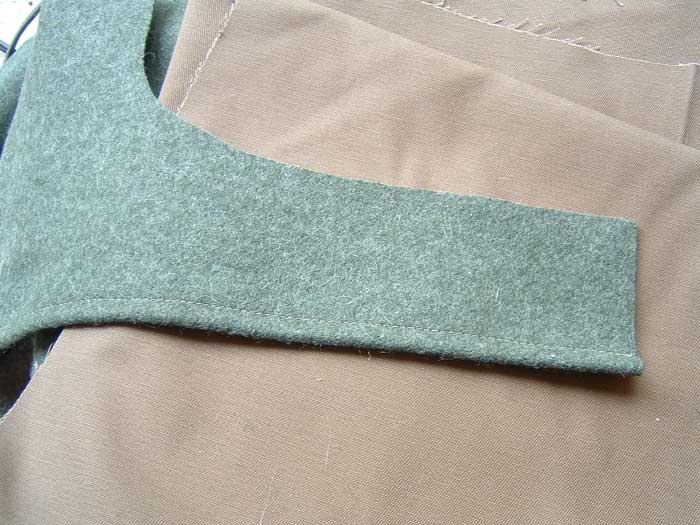
then you want to take the flaps you sewed together, and take the lower outer edge of them (the longest side of em) and fold about 1cm of that edge under and stitch that fold down. be sure you fold it in the same direction as the little 1cm flaps that you just topstitched, so that they're all on the same side of the fabric. you'll probably want to pin this one in place before you sew it. when you sew the stitch on it, make it about 4-5mm in from the edge. see top photo for the final result.
|
| then, a bit trickier one. you're gonna fold the curve of the flap over, about 1cm of fold, and sew two stitches in it. you'll need to pin it first, of course, as seen in the top photo. because of the curve, it'll stretch the fabric in funny ways, but it's supposed to do this, because when you're done, the flaps will naturally wrap around the front of the hat. 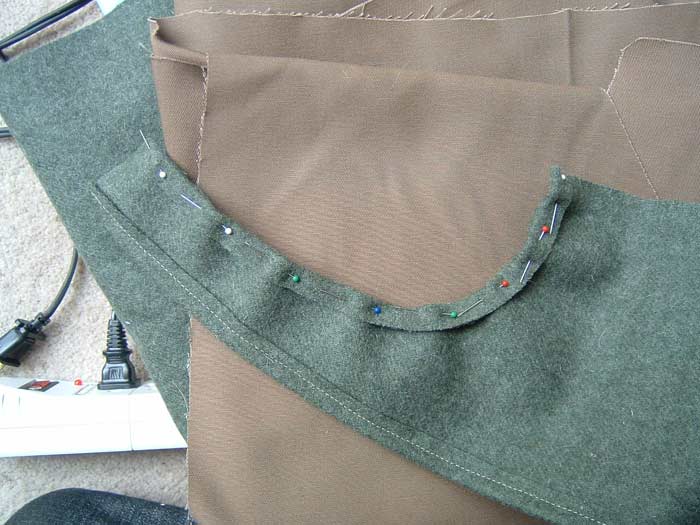
sew the first stitch close to the edge, about 1mm. when you're into the curviest part of the curve, be careful not to sew right off the edge of the fabric, because it'll be hard to tell where the needle is in relation to the edge, with the sewing machine foot covering it up. might take you a couple tries. sew the second stitch about 4mm in from the first one. repeat this stuff for the other flap, of course. 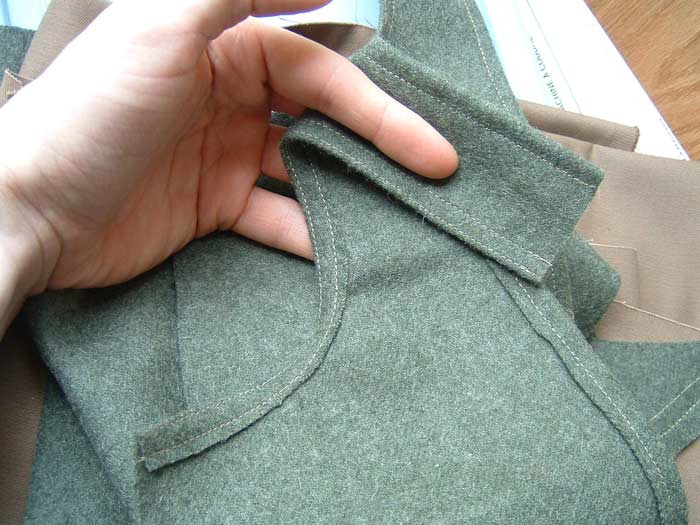
|
| variation: i've seen originals which only have one stitch on the curved upper edge of the flap, so you could leave the inner stitch off, too. |
<< previous next >>