| step 5 - sewing bill
|
a little trickier. putting a faux stitch along one side of the bill. i call it "faux" because it has the appearance of being attached to the cardboard inside the bill when you're done, even though it's not. this is one of a couple things in my M43 hat construction which i'm pretty sure is just wrong and not identical to the originals, but i'll be damned if i could figure out how they sewed just ONE side of that wool into the cardboard. also, the only way to really tell that this stitch is "faux" is to handle the hat in person and wiggle the bill fabric around to determine that it's looser than it should be. it's not going to be discernable to any photography or eye examination.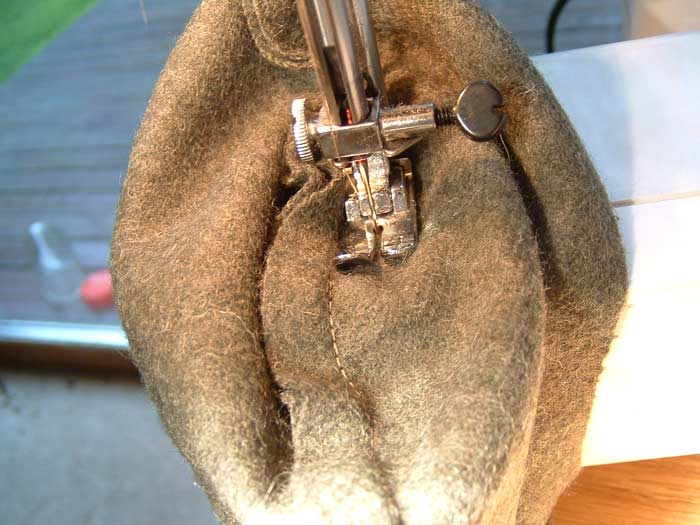 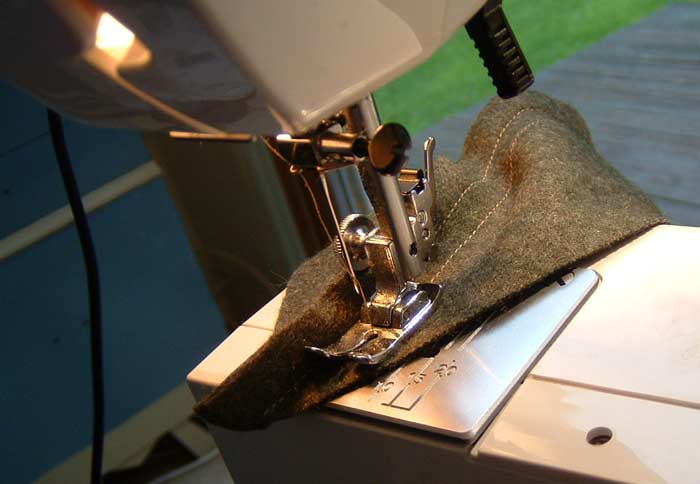
|
| you want to sew this stitch through just one layer of the bill wool, about 4mm away from the original stitch. you'll see from the photos why it's a bit tricky, but if you just take it slow and be sure not to let the wool get bunched up or misaligned underneath the sewing foot, you'll be fine. |
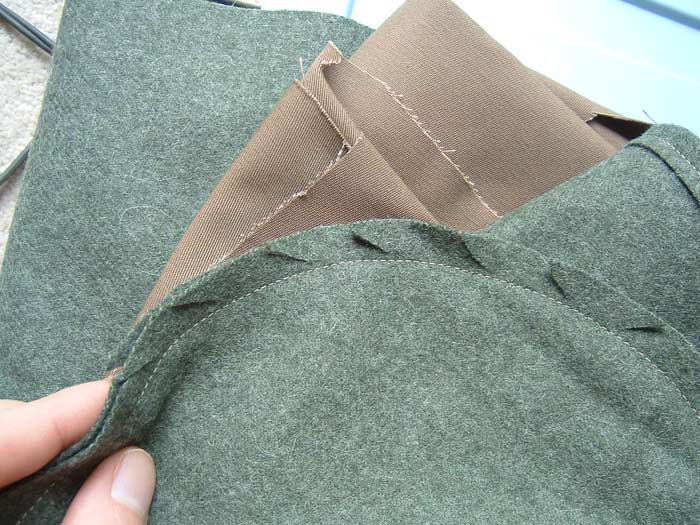
now you'll make a bunch of cuts in the fabric outside the stitch, right up to about 1mm from the stitch, as seen in top photo. this is to keep that extra flap of fabric from bunching up too much when you turn the thing inside out.
|
| so, turn it inside out and slip the cardboard in there, and stretch the wool tight and pin it in place so it stays tight. then set the bill aside to let the wool loosen up, and we'll move on to other things. 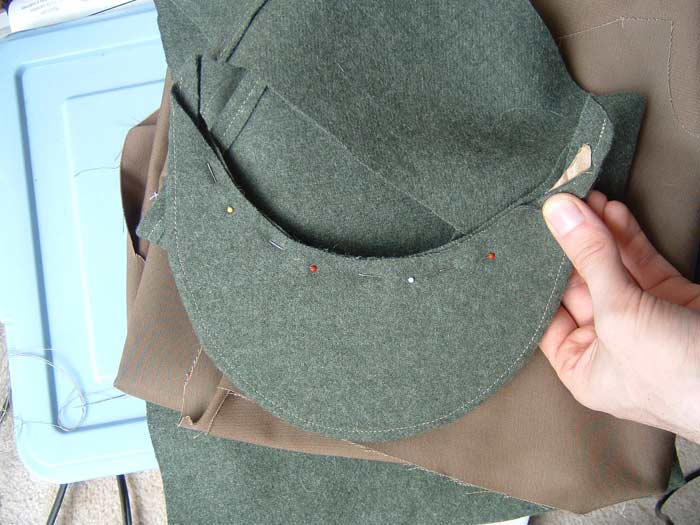
|
<< previous next >>