| step 11 - the big stitch
|
| now we'll start pinning the liner and outer wool together for the final main stitch. this will be the trickiest part of all. i'll try to explain all the hardest parts and things to look out for. start pinning the liner to the outer, with the edges folded under, as shown below. note that you want the pins on the inside and pointing counter clockwise. 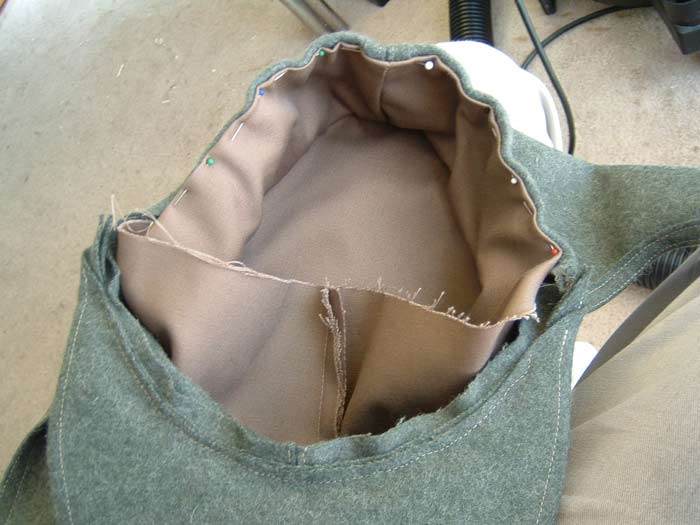 here you see everything pinned in place as it should be. when you're doing this, be careful you don't make the liner too short or too tall in relation to the wool, causing an unevenness between the liner and the outer wool.  also note that that pointy ends of the bill will go up inside the hat to a certain degree. the bill cardboard will actually be inside a little, and you'll be sewing through the cardboard in a couple places. here you'll see the tip of my thumb showing about how far inside the cardboard should be. 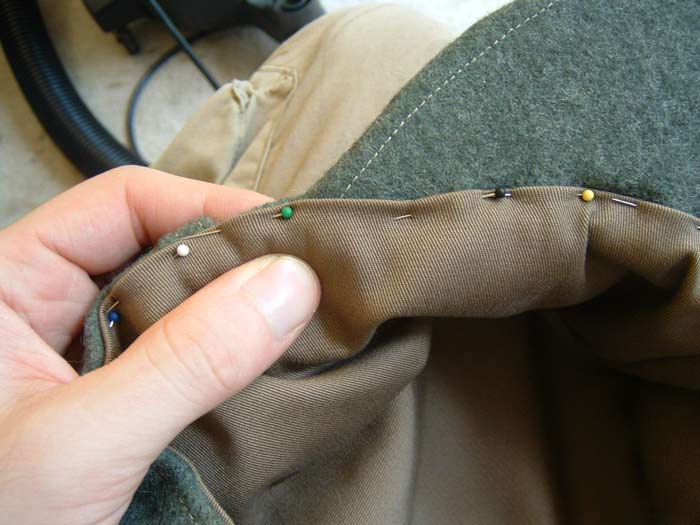 and one more note, as you'll see here, when you pin the liner around the inside of the bill, you're NOT pinning it through the upper part of the hat, only through the wool on the bill. you can see the pins in the pic there illustrating this. you probably won't be able to get the pins through the cardboard, so just do like i did and put the pins as close to the cardboard as possible to hold it in the right place more or less, until we get to the actual sewing. 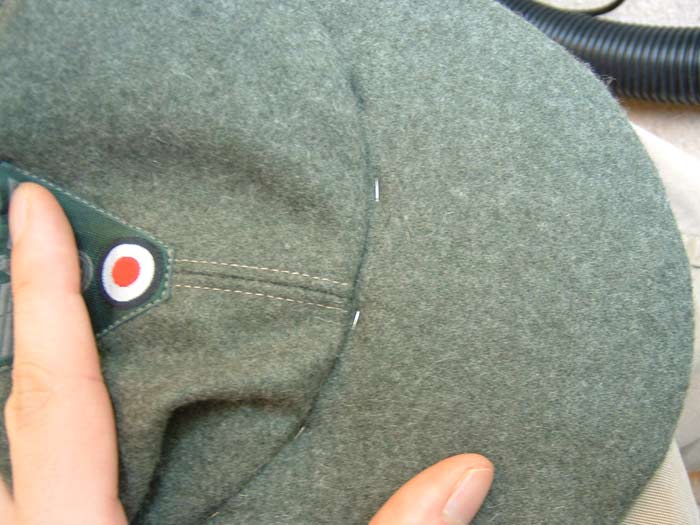 also, you probably shouldn't bother trying the hat on at this point. the pins in the fabric will change the shape of it all, and you won't get a good idea of the size of the hat until it's actually sewn. also you'll stab yourself in the head with the pins. |
| the big stitch. i'd start at the rear, as seen in the top pic. put the stitch 1-2mm from the edge of the liner all the way around, ideally. then go all the way around, and you're done. ha ha, zing, that was easy wasn't it? 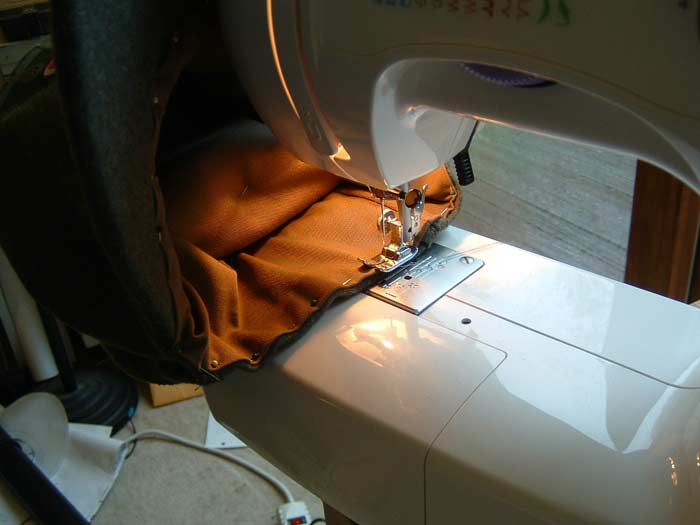 no, so here are the things you need to look out for: 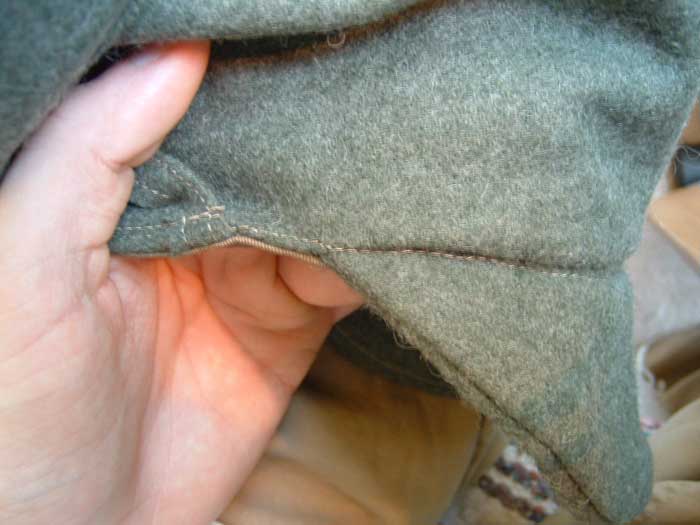 |
one more thing, you'll notice that around the rear of the hat, there are two visible stitches now. it might look wrong, but as far as i can tell, it's normal. the repro hat i copied from (an ATF hat, btw) in fact had three visible stitches here. not sure why, though. 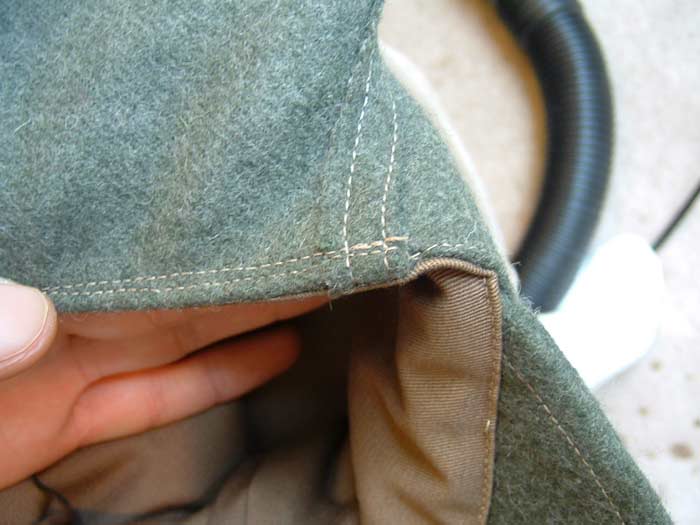 it looks like i did it damn near perfectly this time, much to my surprise. 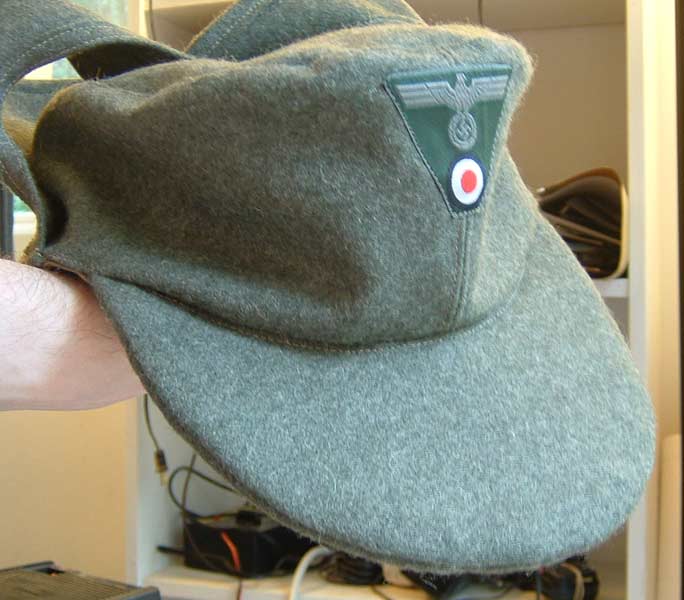 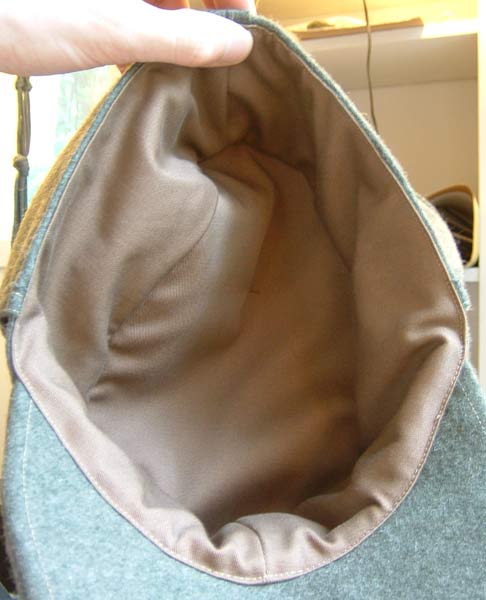 now you can try the thing on and see how it fits. of course if it doesn't fit, you'd have to redo about half of this whole tutorial. i need to work out a better way of adjusting the hat size during construction. |
also, it's been 90% humidity the last week here, and in that time, my WH buckle that i just had hanging off a chair, has artificially aged itself. bet i could sell it for $400 on ebay now.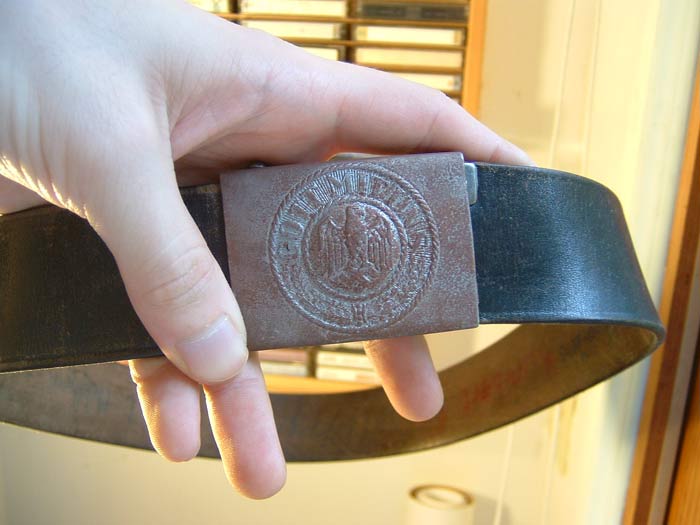 |
<< previous next >>